Homemade Zimmerit
The Zimmerit, a special coating used during the Second World War to protect German tanks from magnetic mines, is an iconic element for military modelling enthusiasts.
Traditionally, creating the Zimmerit required complex techniques and specific materials, but today there are new, more accessible methods available to model makers.
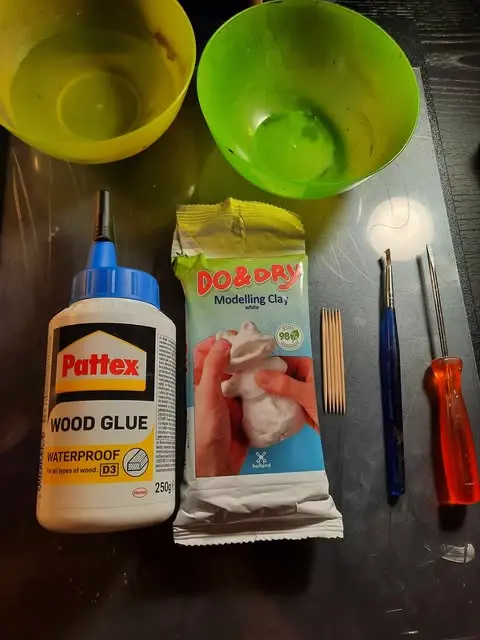
To recreate this Zimmerit, you'll need just a few items of equipment, all of which are listed below:
- A support for spreading the self-hardening paste (here, a sheet of Plexiglas)
- A cylindrical object
- Water
- Wood glue (available at Action)
- Do & Dry’ self-hardening paste from Action
- A few toothpicks
- An old brush with which to apply the glue to your model
- A +- 5mm flathead screwdriver
- Two containers
One of them is to use Action's ‘Do and Dry’ self-hardening paste, an economical and effective product for creating the Zimmerit effect on scale models of any size.
One of the notable advantages of Do and Dry paste is its affordable price, accessible to all modelling enthusiasts, making it an excellent choice for large-scale projects or models to be built on a tight budget. What's more, it's quick to apply and easy to grip, saving you precious time when building your models.
Here are the steps you need to follow to recreate Zimmerit on all your models at a lower cost.
Dilute the wood glue to approximately 30% glue to 70% water and mix. The final mixture should resemble milk.
Prepare your two containers and fill the first with a little water, and the second with a little wood glue.

4 - Roll out your base, place the paste on top and crush the paste using the cylindrical object you have chosen. The aim of this step is to obtain a very fine paste that we will apply to our model.
5 - Prepare the area to be zimmered. Make sure it is well sanded and clean. A smooth surface will allow the paste to adhere better to the model.
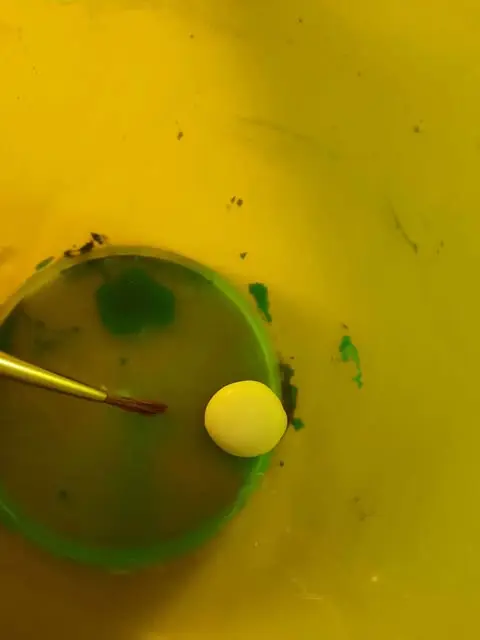
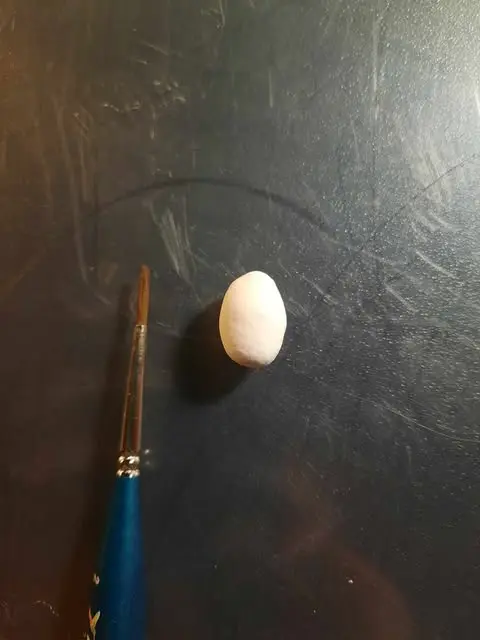
3 - Take a small amount of self-hardening dough and roll it into a small ball. Note that you won't need a large quantity of dough for your entire model.
NB : A one-inch pellet will be enough to make the entire front glaze of a 1:35 scale tank. In other words, one packet of self-hardening paste will be enough to make dozens of vehicles.
6 - Apply the glue and water mixture to the entire area to be zimmered.
7 - Place your paste on the model, making sure that all the areas to which you apply the paste are covered in glue. Use a toothpick to push the paste into the folds, hollows and interstices and don't hesitate to spread the paste with your finger. Trim off any excess paste with a toothpick or scalpel. You don't need to be extremely precise at this stage, nor do you need a smooth finish. The important thing is that the area in question is almost completely covered in paste.
8 - Dip your finger in the water and run it over the entire area to smooth it out. It's very likely that you'll have a new surplus of paste once the operation is complete. Simply remove it with a toothpick or scalpel.
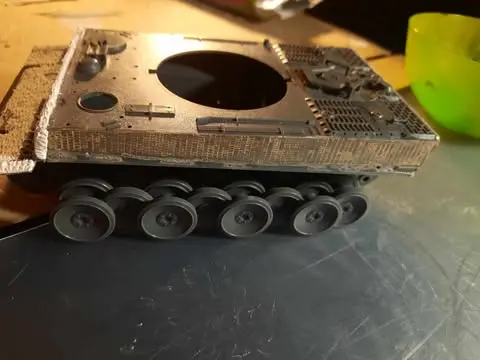
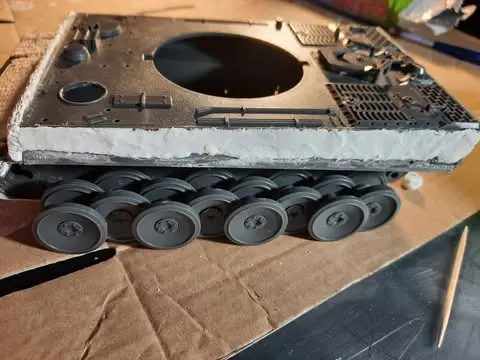
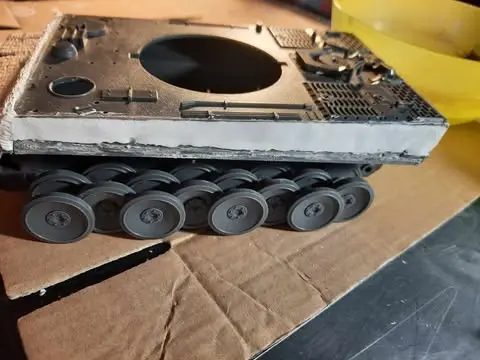
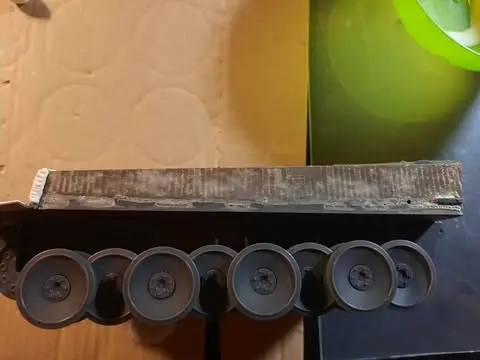
9 - When the smoothing is complete and you're happy with it, take the flathead screwdriver and press it into the clay to create the Zimmerit patterns. You don't need to be precise at this stage, as Zimmerit was very approximate at the time. So be irregular when creating your patterns. However, make sure you keep a certain consistency in the patterns between the different plates and glazes.
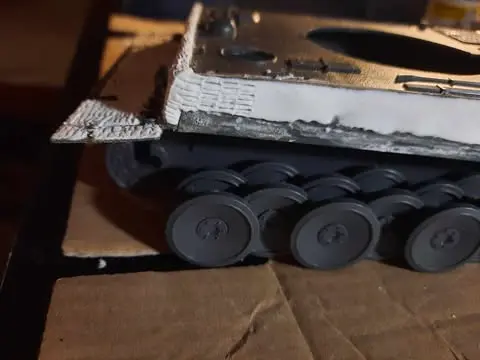
10 - Once you've finished the patterns, all you have to do is imitate the damage on the Zimmerit with a toothpick, delicately tearing off certain areas, taking care to leave a little paste diluted with water to maintain a textured effect.
11 - Leave to dry overnight, then paint your model.
 By Florence Trigallez